Deploying your own contract from bytecode
Starton already provides a library of ready-to-use audited smart contract templates. But what if you want to use your own custom template?
Well, you can import it on Starton from its bytecode as we will see in this tutorial.
Prerequisite: You should have your custom smart contract as a .sol file ready.
What is the bytecode and how to get it?
The bytecode of a smart contract is the compiled version of your smart contract.
In the same way that we use human language code (the .sol file), the machine needs a version in its own language to work properly. This is exactly what the bytecode consists in: the human readable contract transformed into a machine readable format.
To get the bytecode of our smart contract, we’ll use Remix. Remix is a development environment (IDE) in a browser.
The first time, you should see:
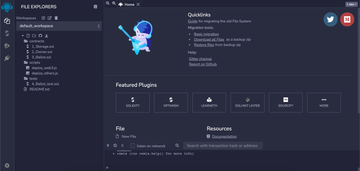
To test this feature, you need a smart contract. You can select one of our template.
On the left, in File Explorers > contracts a few .sol example files already exist under the contracts folder.
- Select the contracts folder.
- Click on Upload.
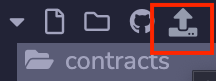
- Select our
.solfile to import it in Remix. - Right-click on our newly imported contract.
- Click Compile. A green mark appears on the compilation tab.
- Click the Compilation tab.
We are now in the Solidity Compiler.
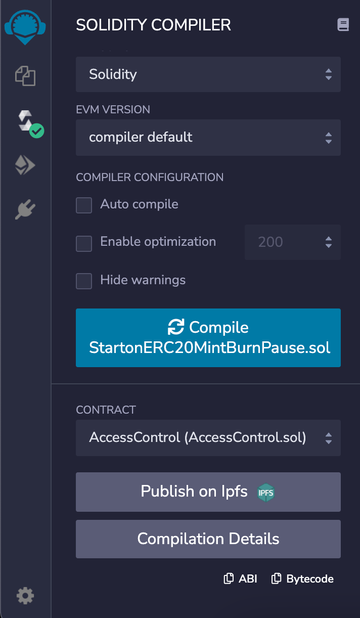
- Scroll all the way down, to access the Bytecode and ABI.
- Click on the ABI to copy on the clipboard.
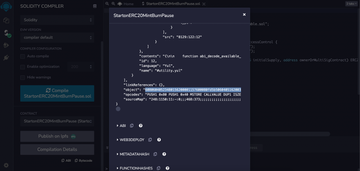
- The bytecode is not under the right format. Click on Compilation Details. In the pop-up, expand the bytecode section. Scroll down to find the object field value. Copy the value.
Deploy the contract on the blockchain
- From Code
- From Webapp
With the bytecode and ABI, you can call Starton’s API to deploy the contract.
First, you need an API key. Check the introduction of our API reference.
- Use the
from-bytecodeendpoint to deploy our contract. You will need the ABI and the bytecode of your contract. - Select a network to deploy the contract. The complete list of available networks in the Smart contract section of our API reference. For example:
const axios = require("axios")

const http = axios.create({
    baseURL: "https://api.starton.com/v3",
    headers: {
        "x-api-key": 'YOUR_API_KEY',
    },
})

http.post('v3/smart-contract/from-bytecode', {
  "network": "binance-testnet",
  "name": "My contract's name",
  "description": "This is the most beautiful ERC20 ever deployed.",
  "params": [ // parameter values for the smart contract constructors, this will change depending of your contract
    "My token",
    "TOKEN",
    "1000000000000000000000",
    "0x0" // This is the owner and should not be set to 0x0 adress but we do this as this is a tutorial. You should use either the KMS adress or one that you control.
  ],
  "abi": ,// Paste here the abi you copied to clipboard
  "bytecode": ,// Paste here the bytecode you copied to clipboard
  "compilerVersion": "string",
  "signerWallet": "string"
}).then(response => {
    console.log(response.data)
})
Be sure to replace x-api-key value with your own api key!
The smart contract details are returned such as the hash and the address of it.
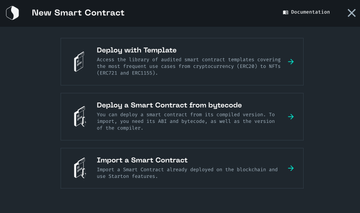
- From Dashboard, go to Smart Contract.
- Click Deploy from bytecode.
- Enter a name and a description.
- Enter the ABI of your contract.
- Enter the bytecode of your contract.
- Enter the parameters needed.
- Click Deploy.
Use the address or the transactionHash of your contract to check it on the blockchain explorer of your selected network.